In November I had the pleasure of attending a two-day class on window sash construction at Roy Underhill’s school in Pittsboro, NC. It was an absolute joy to be in the workshop there, visit Ed’s tool store upstairs, and hangout with some remarkable people I met.
The course opened with an introduction to the characteristics of window sash completed with hand tools. We discussed the American approach with ‘stick and rabbet’ planes as well as the English approach of using sash ovolos and sash fillisters to separately complete the moulding and glazing rabbet. Much of the first morning after this introduction was related to tuning and using the ‘stick and rabbet’ planes. Roy and the group went to each bench to set-up and troubleshoot our planes to make sure they were cutting an appropriate profile. Once set, we cut an example profile to measure the depth of the ovolo and rabbet for our layout of the guide sticks and determined the mortise chisel width from the resulting fillet.

The next step of the course was to use our created guide sticks to layout the joinery for a 4-light divided window sash. Roy stressed the importance of this layout and the students viewed each others work to make sure we all had are layout lines correctly executed. The first joinery steps were then to chop the mortises and saw the tenon shoulders on the rail and stiles. The mortise in the upright muntin bar was also chopped.
Day two began with another excellent breakfast as the Small Cafe BB and a pleasant walk to the school. Upon Roy’s arrival, I inquired about the frame saw hanging in the school window that I had been pondering about with a fellow classmate while we were waiting. Roy graciously gave me a brief tutorial on the saw and let me have a go at it.


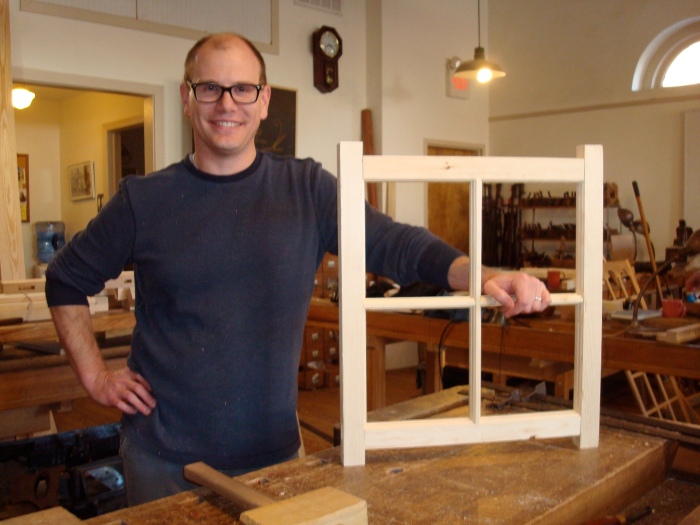
Once class began this second day it flew by with a fury of activity. We finished up any work from the day before and then worked to mould the rails, stiles, and two muntin bars. It sure was a joy to use a beautiful, well-tuned wooden sash moulding plane! Tenon cheeks were then saw and the assembly began following a tutorial by Roy on the scribed joints of sash with ovolo moulding. This process involved the use of several other remarkable antique tools, sash templates and long in-cannel paring gouges. After completing the scribing of each mortise and tenon joint in the window sash (10 in total), I began putting my sash together. A little paring and a bit of sawing was needed, but when the clamps were put on Roy and I watched as the joints pulled together.


Sounds like a great and productive time, thanks for sharing.
LikeLike